Output
How to see room areas and print an area schedule
SpacePlanner measures the area of every room you close with walls. The number shows on the plan, in the Areas panel and, if you want, as a table on your exported sheet.
The net area is the floor inside the wall faces. The gross floor area is measured to the outer face of the external walls. Areas are in m² for metric plans and ft² for imperial ones.
See the area of each room
Close the room with walls
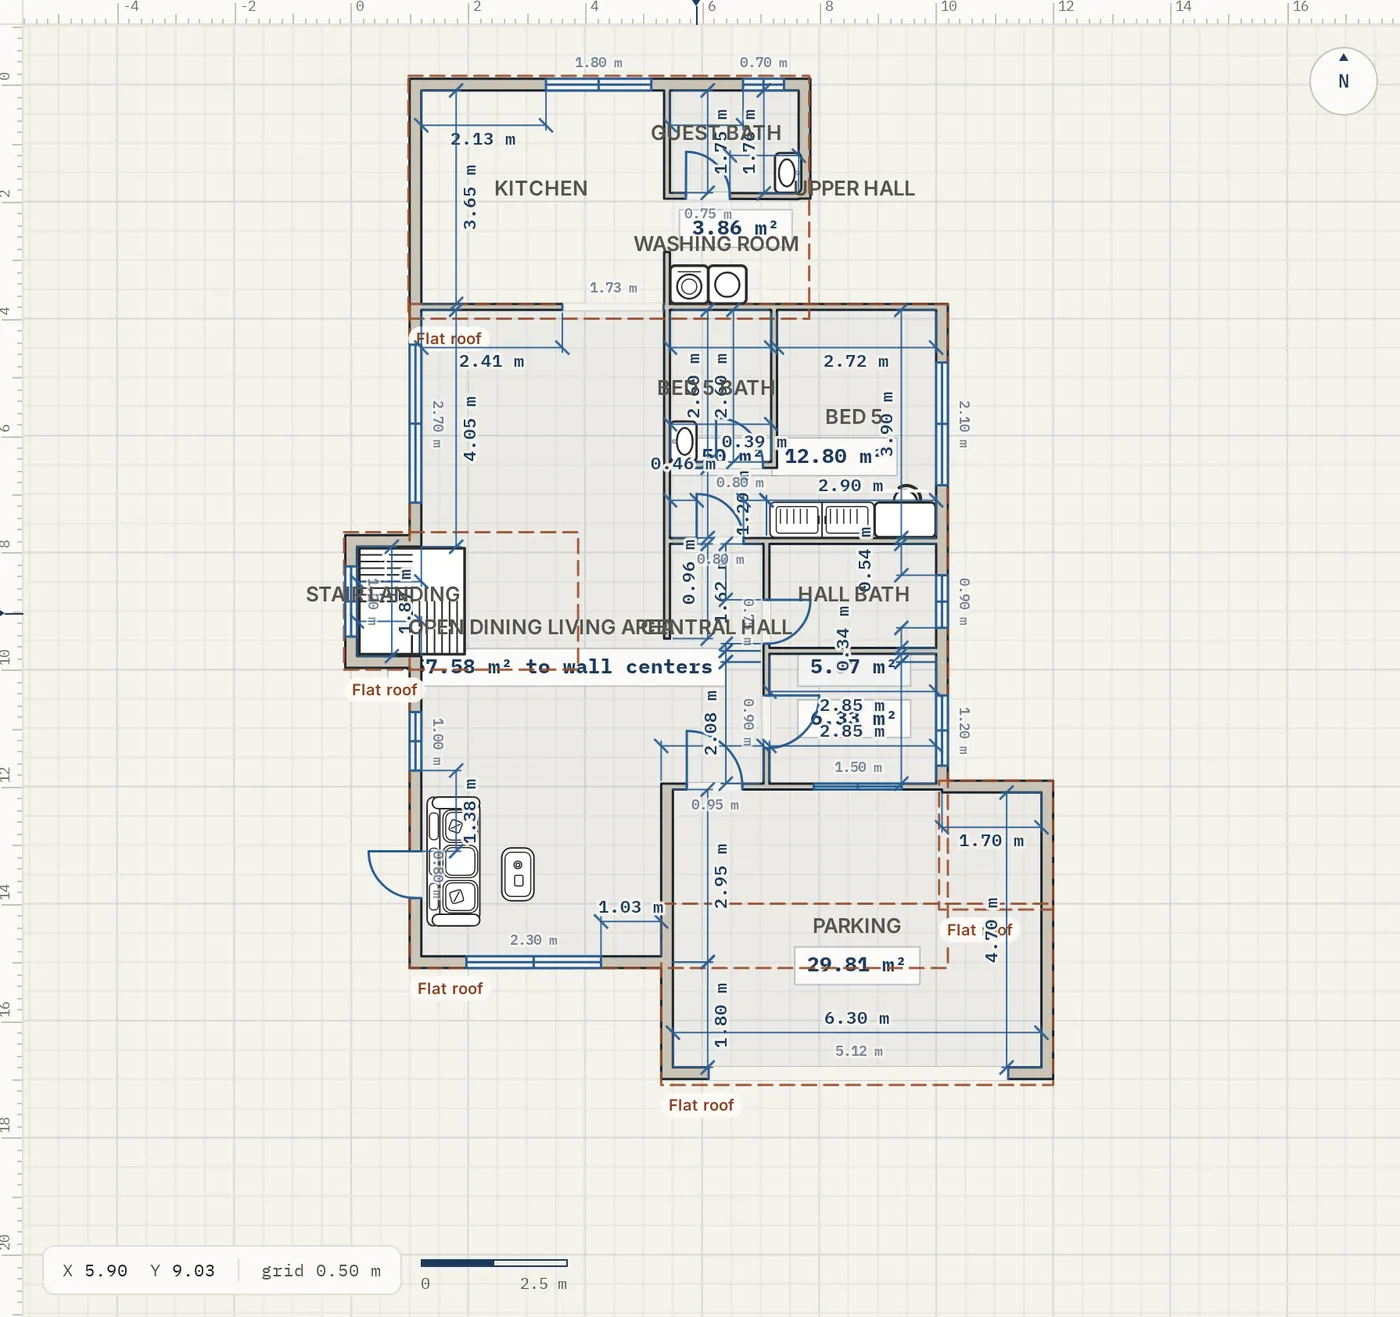
Draw walls all the way around a room. As soon as it is closed, a chip with its net area appears on the plan.
Name the room
Add a Room label inside the room. The name is used in the Areas panel and in the schedule. Unnamed rooms are listed as Room 1, Room 2 and so on.
Show or hide the chips
Turn Room Areas on or off in the Layers panel on the right.
Read the Areas panel
Open Areas
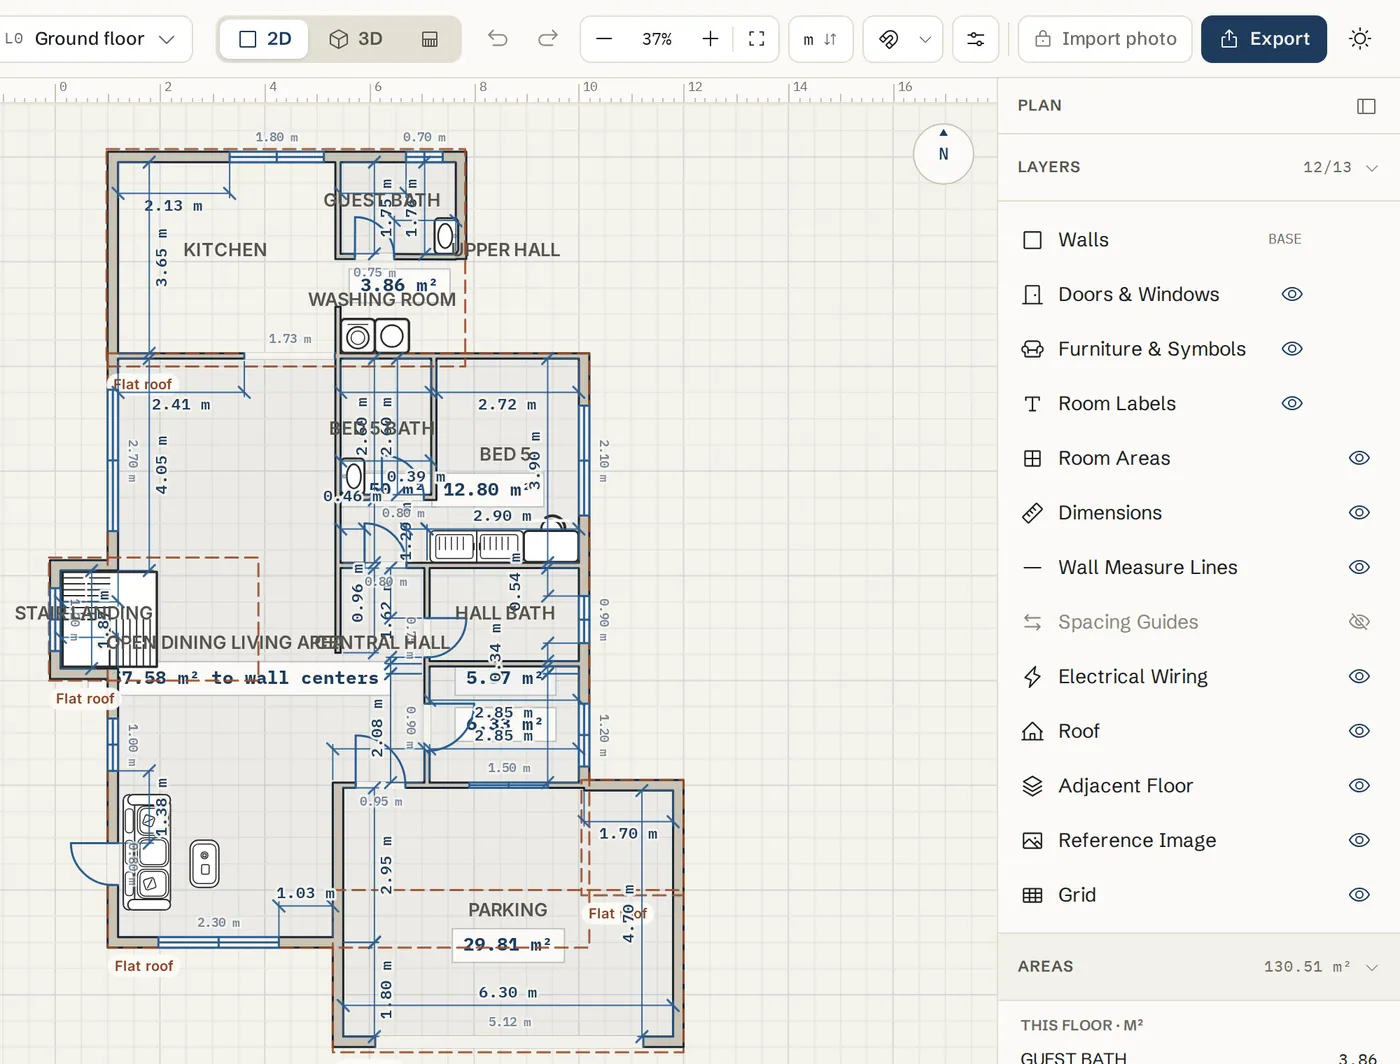
In the right sidebar, open Areas, below Layers. The row shows the floor total even when it is folded.
Read the numbers
The panel lists every room on this floor with its net area, then Rooms (net), the Gross floor area and Walls & other (gross minus rooms). A multi-floor project also shows Building totals over every floor.
Measure any area by hand
Pick Room area
Press A, or click Room area under Measure & label in the left toolbar.
Outline the area
Click each corner. Points snap to the nearest inner, outer or centre corner; hold Alt to place freely. Click the first point, or double-click, to close it. Press Esc to clear.
Colour it
Pick an Area highlight color for the measured area, for example to show a garden or a zone.
Print an area schedule
Tick Area schedule
Click Export in the top bar. Under Include, tick Area schedule.
Check the table
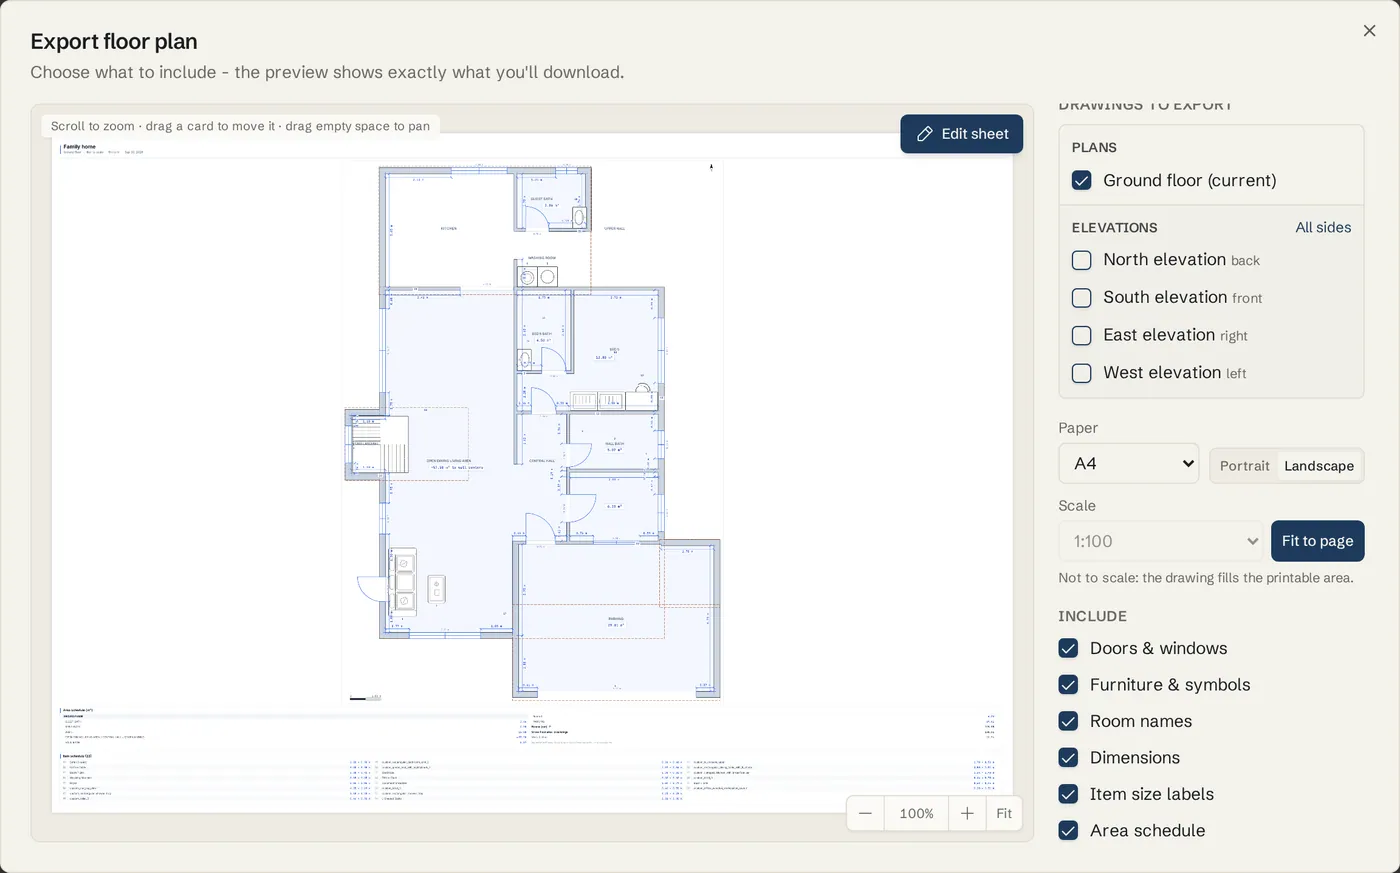
The sheet gets an Area schedule table with each room, the rooms subtotal, the gross floor area and walls and other. With several floors you also get the building totals.
Place it on the sheet
In Edit sheet, drag the table where you want it and resize it. Long tables flow into columns. It prints in PNG, SVG, PDF and Black & white.
Tips
- Numbers are to 2 decimals, exactly as the chips on the plan. An area marked ~ is measured to wall centres.
- With Separate pages, each plan page lists its own floor plus the building totals. On One sheet, one table lists every plan on the sheet.
- Manual areas you measure with Room area are listed, but not added to the room subtotal.
- Separate buildings on one floor, like a house and a garage, are added up in the gross floor area.
- Switch units in the top bar to see the same areas in m² or ft².
Common problems
- A room shows no area
- The room is not closed. Look for a gap at a corner and drag the wall end onto the other wall until it snaps.
- The area has a ~ in front of it
- The inside faces of that room could not be worked out, so the area is measured to the wall centres and is approximate. Look for overlapping walls, walls that cross slightly past a corner, or a tiny gap, and tidy them up.
- The area does not match my measurement
- The chip is the net floor inside the wall faces. Check that the wall thickness matches reality, and that the wall is drawn along the right face (Corner join).
- I want square feet, not square metres
- Change the units in the top bar or in Settings. Imperial units show areas in ft².
Related topics
- RoomsDraw a whole room in one drag: rectangle, L-shape, round or any shape, at an exact size.
- Dimensions & measuringWall lengths on the plan, which face they measure, typing a length, and extra dimension lines.
- Export & print (PDF)Download plans and elevations as PDF, PNG, SVG or a 3D model, true to scale on A4 to A0 paper, or save the whole plan as a SpacePlanner plan file.
- Units (cm, m, ft-in)Choose metric or imperial units for the whole plan and type lengths in any format.
- Labels, notes & areasName rooms, style their labels, add notes with a leader line, and outline an area to measure it.
Try it on a real plan
Free, in your browser. No sign-up needed to start.