Building features
How to add floor, wall and furniture finishes
Every surface in SpacePlanner uses the same finish picker: room floors, wall faces, stair parts and furniture. You choose a material from our textures and patterns, or a paint colour, and it shows at its real-world size.
Floor finishes show on the 2D plan and in 3D. Wall and furniture finishes show in 3D, because the plan keeps walls and furniture as clean line work for printing.
Give a room a floor
Arm the Floor tool
Press F, or click Floor in the left toolbar under Structure.
Click inside a room
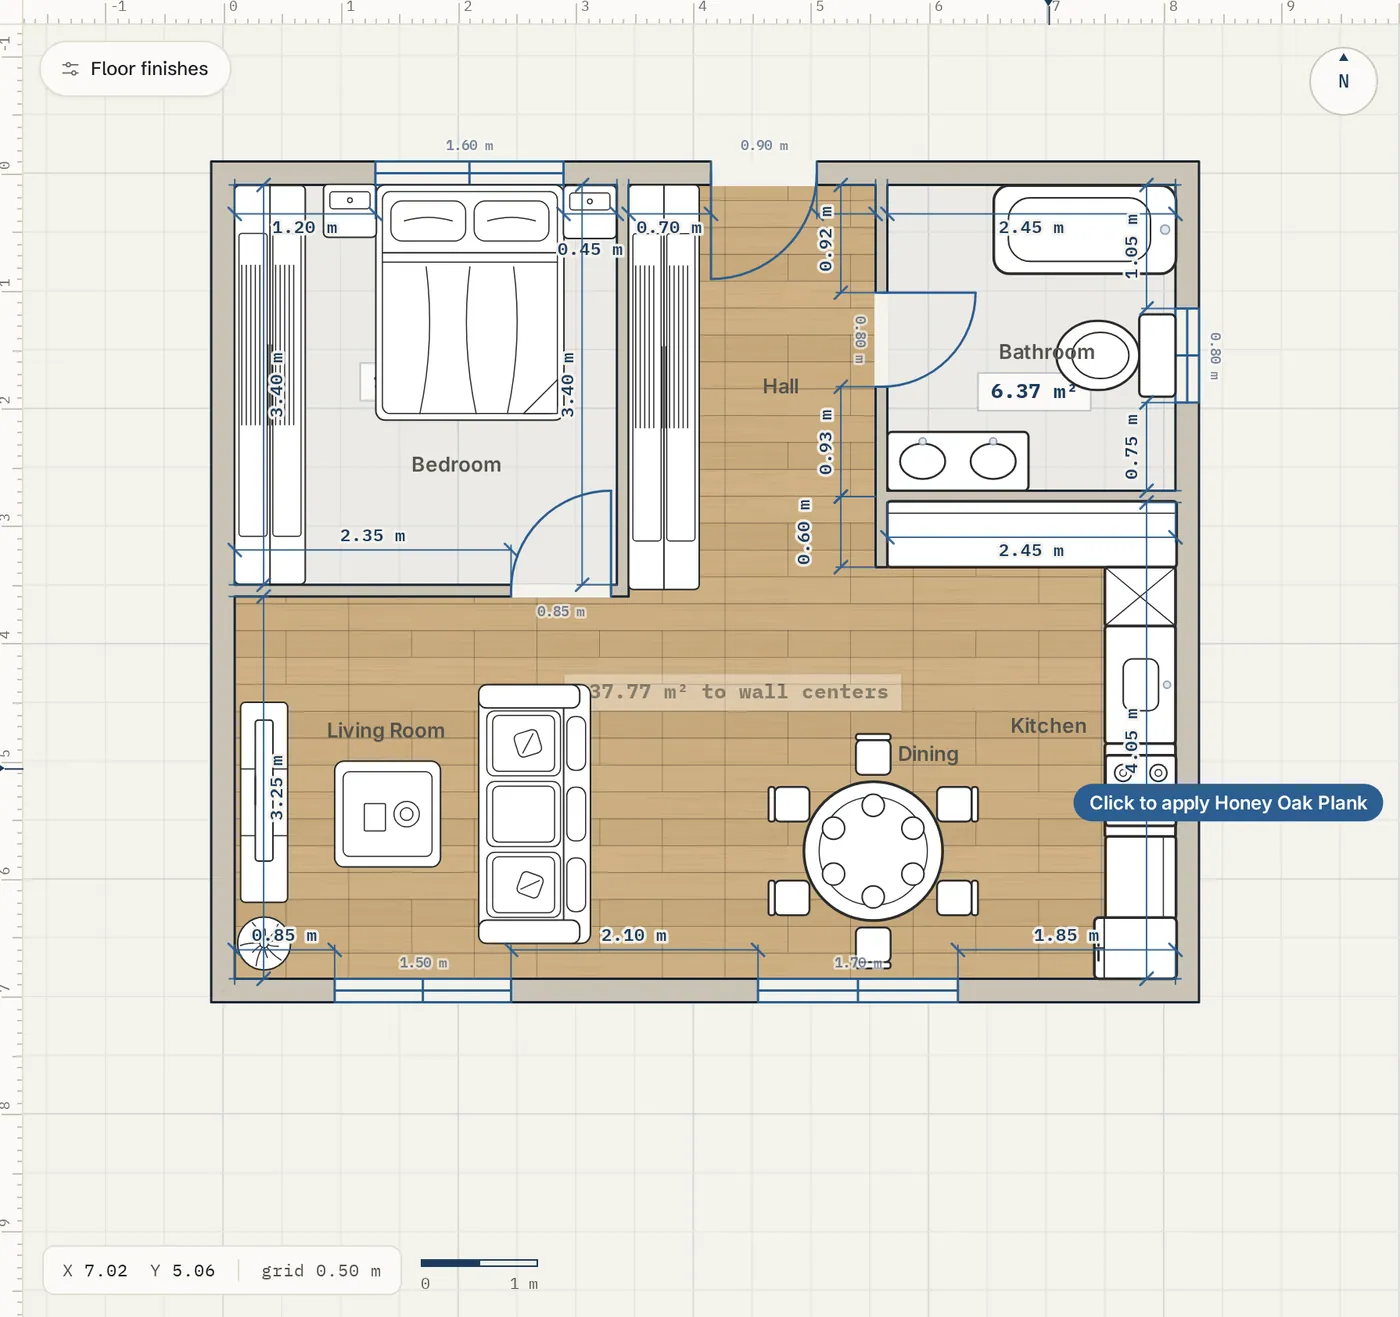
Hover a room enclosed by walls: it highlights. Click to add its floor with the default finish, Grey Large Format Tile. The tool stays on, so click the next room, and the next: each one gets its floor right away and a short note counts them ("Floor added to Kitchen (3)"). Clicking a room that already has a floor just selects it.
Or floor every room at once
With the Floor tool on, the arrow on the Floor entry in the left toolbar shows Add floor to all rooms. It gives every room on this level that has no floor yet a floor with the default finish, as one undo step. Rooms that already have a floor keep it. You can also search for "Add floor to all rooms".
Then pick the finishes
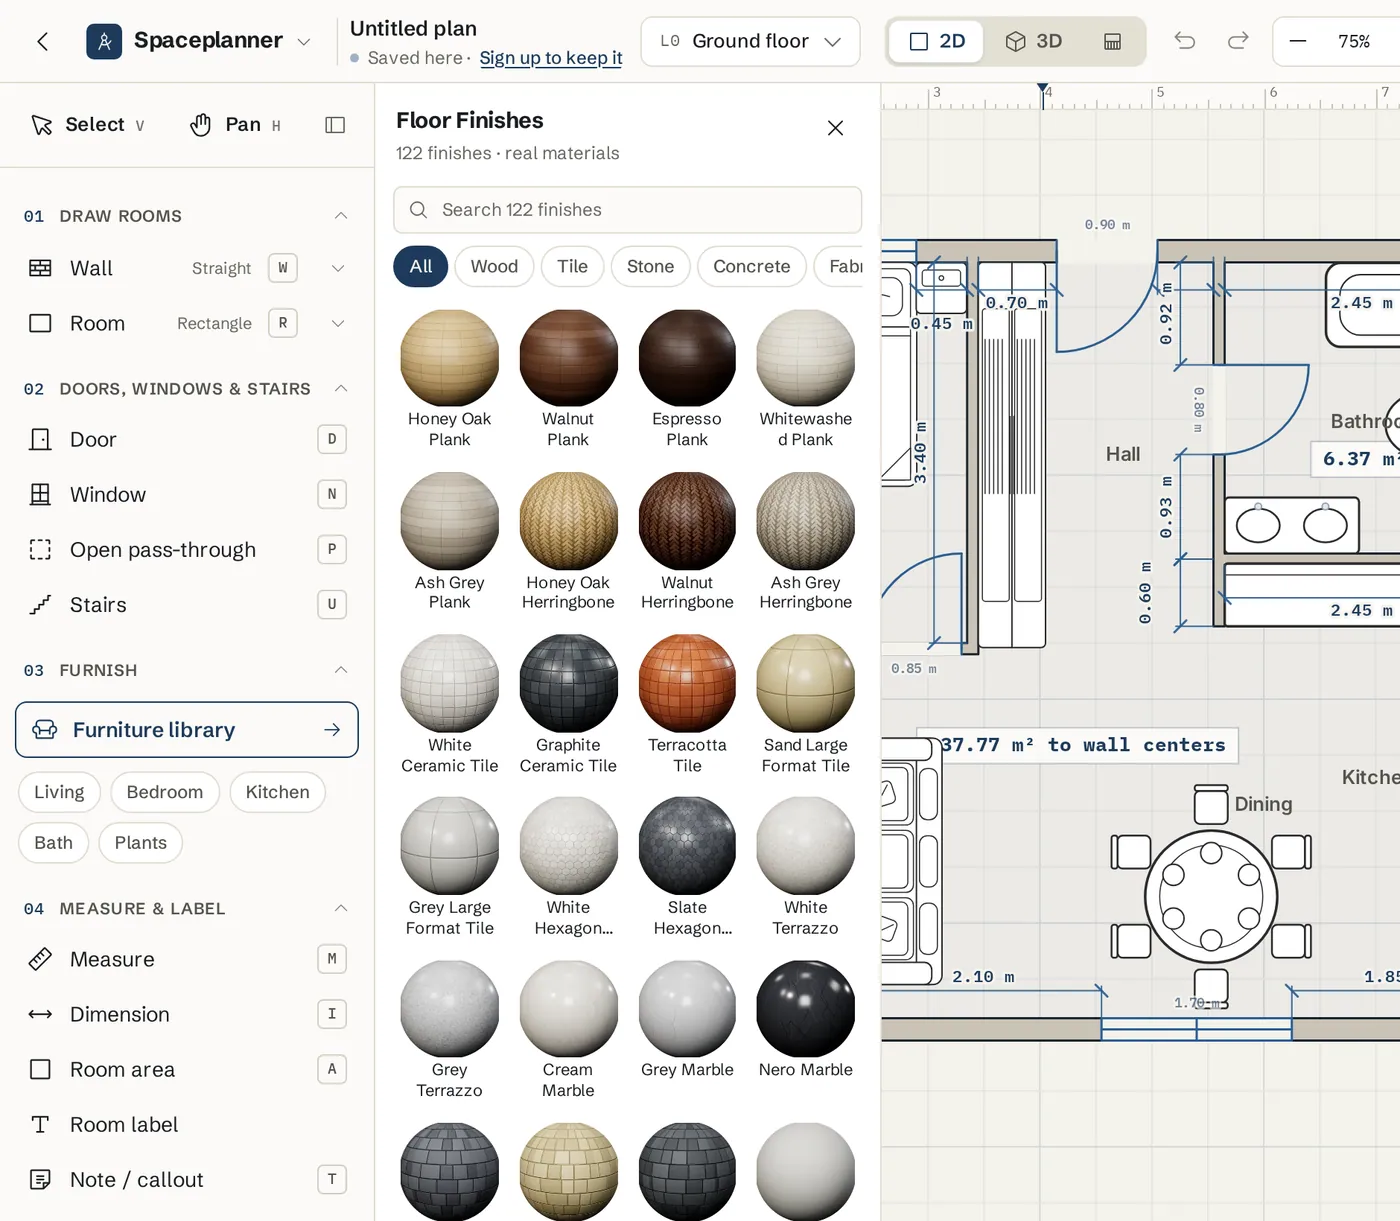
Press V and click a floor. Under Finish in the Floor properties, click Change. The library opens on Photo textures, our realistic photo materials. Click All for every finish (photo textures first), or a category chip such as Wood, Tile, Stone, Concrete or Outdoor, or search, for example "oak", "terracotta" or "gravel".
Or trace your own area
For part of a room, a kitchen tile zone or a patio, Shift+click the first corner, then click each other corner, and click the first point again to close it.
Several floors at once
Box-select or Ctrl+click several floors: the selection panel on the right shows one Finish picker for all of them (it reads Mixed when they differ). Pick a finish and every selected floor takes it, as one undo step. Finishes by room in the right sidebar lists each room with its floor finish: click a row to select that floor and change it.
Stop the tool
Press Esc or V to go back to Select. While you trace an area, the first Esc drops the trace and the tool stays on.
Adjust scale, grain and tint
Select the floor
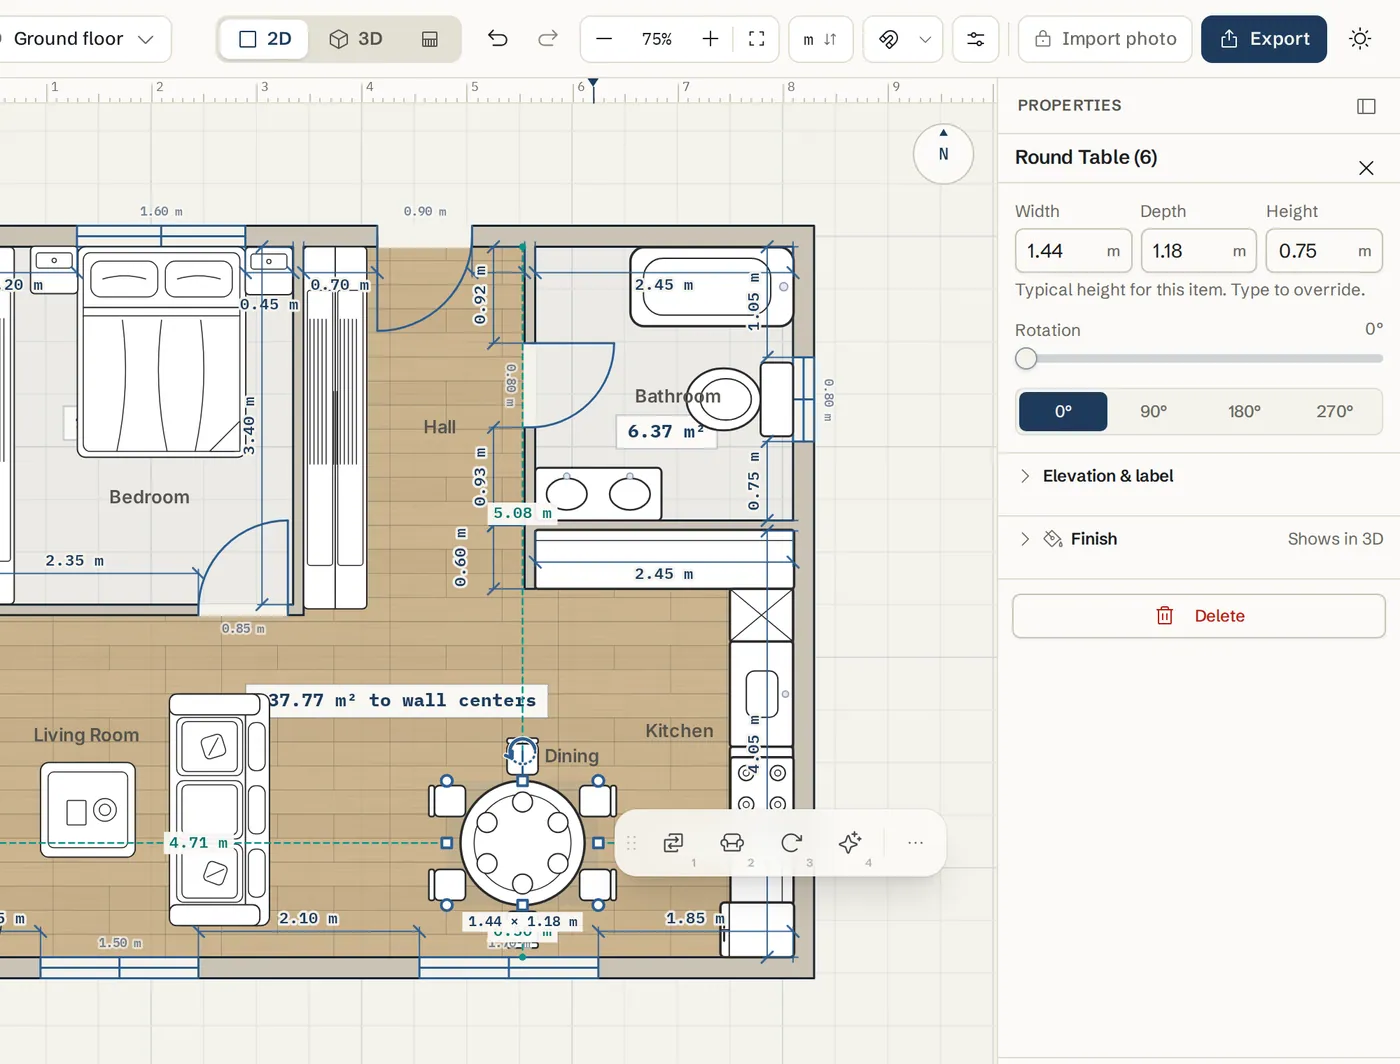
Press V and click the floor. The Floor properties open on the right. The Selected row under Finish shows the applied finish, its category and its real repeat size.
Change the scale
Use the minus and plus buttons to make the pattern smaller or larger, from 25% to 400%. Click the percentage to go back to real size.
Turn the grain
Click the grain button to run planks or tiles along (0°) or across (90°) the room.
Tint it
Click Tint and pick a colour from the palette or type any hex colour. No tint removes it. On a pattern finish, the tint is its colour.
Swap the finish
Click Change to open the full library inside the panel and pick another finish. The reset button next to the name goes back to the default finish.
Apply it to more rooms
Click Apply to more rooms in the Floor properties. The Floor Finishes library opens with this finish armed: click the other rooms to paint them with it, or pick another finish first. Press Esc when you are done.
Paint or texture a wall
Select the wall
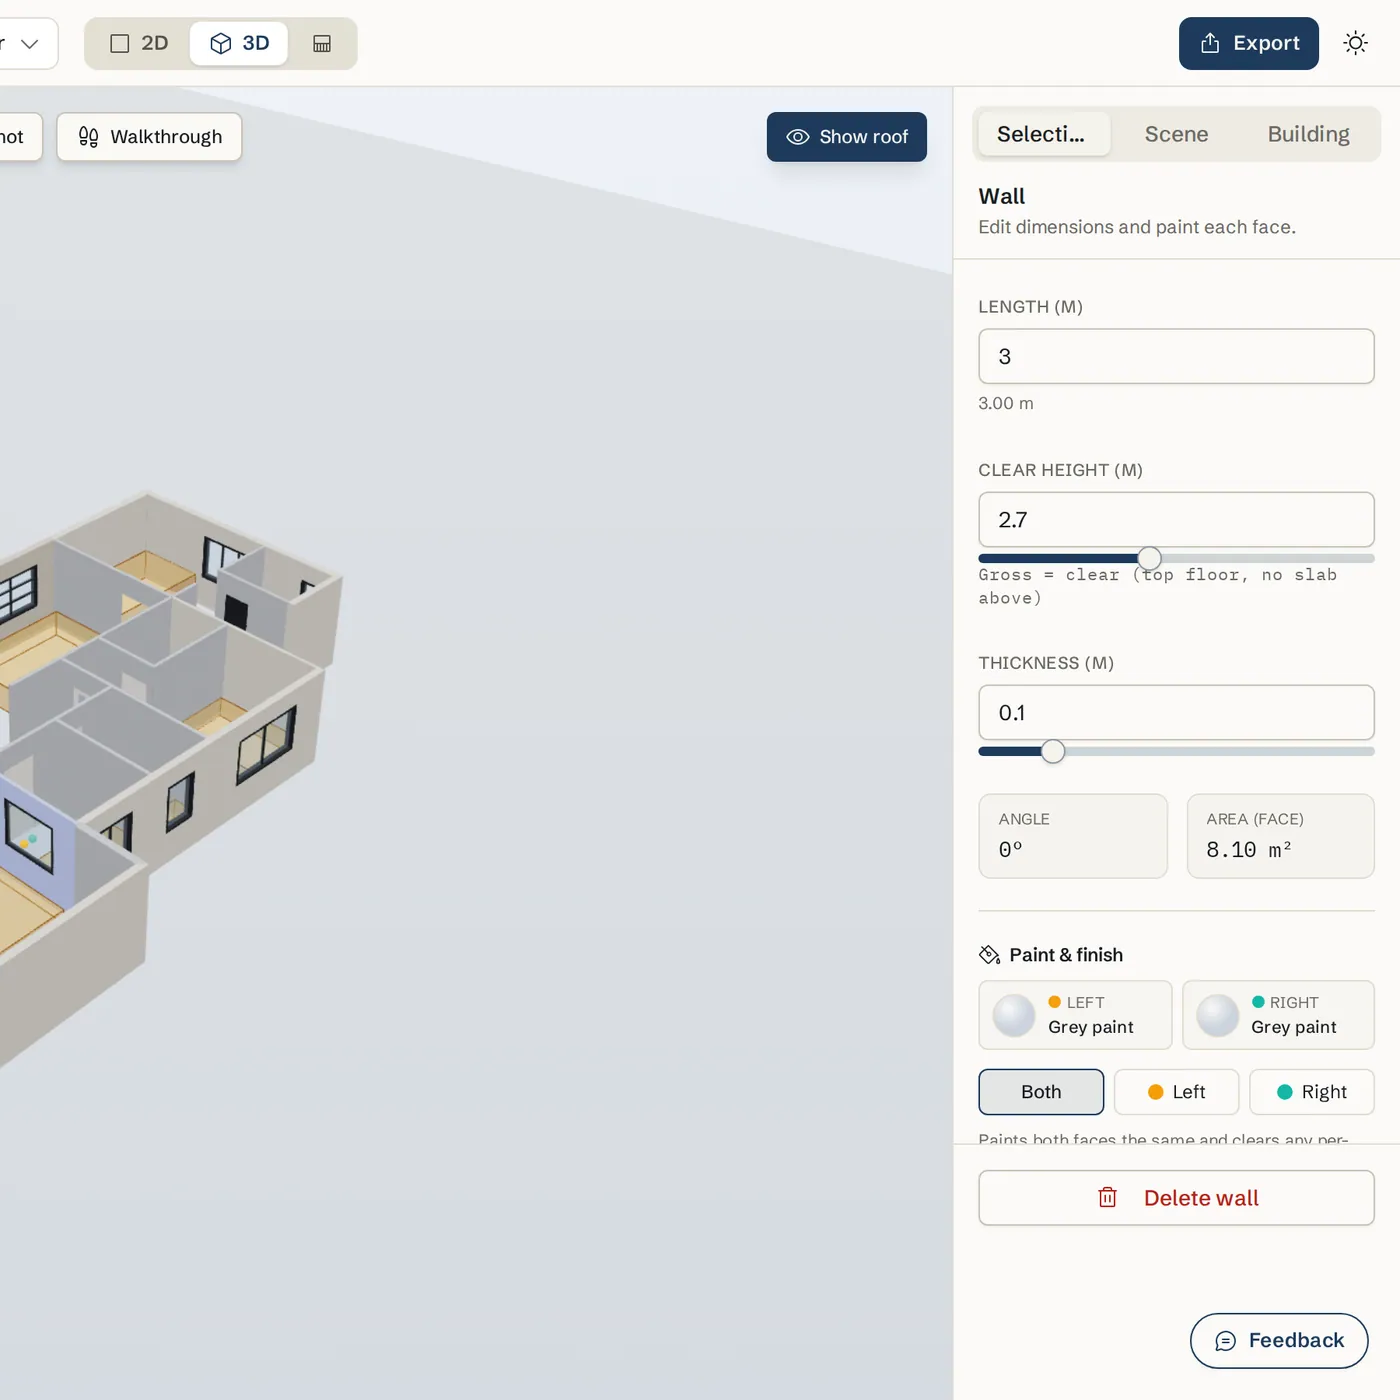
Press V and click a wall. In the right panel, open Paint & finish. In 3D, click the wall and the same section is in its panel.
Choose which face
Pick Both to paint both faces the same, or one face: Inside or Outside on an outer wall, Left or Right on an inner wall. Amber and teal markers beside the selected wall show which face is which.
Choose Materials or Paint
The Materials tab has brick, plaster, stone, tile, wood panelling and more. The Paint tab has a palette of named colours, and the colour well takes any colour or hex code.
Paint many walls at once
Box-select several walls. The selection panel lets you apply a finish to Interior faces (room sides), Exterior faces (outward sides), Side A, Side B, or Paint both faces. Walls that cannot be classified with confidence are skipped and listed, so paint those one by one.
Reset
Click Reset paint to go back to the plain wall.
Change a furniture finish
Select the piece
Click the piece on the plan and open Finish in the right panel, or switch to 3D and click it.
Finish the whole piece or each part
Pick one material or paint for the whole piece. For a model with several materials, open Parts and give each part its own finish, for example metal legs and a leather seat. Metals include black steel, brushed steel, brass and white powder coat.
Reset
Use Reset this part to its original finish for one part, or Reset all parts to default finish for the whole piece.
Upload your own texture
Open Custom texture
In any finish picker, open Custom texture at the bottom. Uploads need a free account and a saved project, because the image is stored with your project.
Upload a photo
Click Upload an image and pick a straight-on photo of the tile, wood or paint. It appears under My uploads and is applied to the selected surface. Use it on floors, walls and furniture, in 2D and 3D.
Tips
- Stairs have their own finishes for treads, risers, railings and more. See the stairs guide for the Finishes section of the Stair configurator.
- Each texture carries its real-world size, so a large tile and a narrow plank read at their true scale.
- Use Black & white (line drawing) in Export when you want a plan without floor fills.
- The Floor properties also hold the floor Elevation for sunken or raised areas, the Slab thickness and Delete floor.
- Dragging inside a floor does not move it, so dimensions drawn over it stay easy to grab. Drag its corner handles to reshape it. To move the whole floor, click Move floor in its properties and drag it once, or nudge it with the arrow keys.
Common problems
- Clicking a room does not apply the finish
- The room must be fully enclosed by walls. Close any gap in the walls, or Shift+click to trace the area by hand.
- My wall colour does not show on the plan
- Wall paint and textures show in the 3D view. The 2D plan draws walls as line work. Switch to 3D to see them.
- I painted the wrong side of the wall
- Look for the amber and teal markers beside the selected wall and pick the face with the matching marker, or pick Both.
- The texture looks too big or too small
- Select the surface and use the scale minus and plus buttons in the Selected row. Click the percentage to return to real size.
- I cannot upload a texture
- Uploads need a free account and a saved project. As a guest you see Sign up to upload. Sign up, and your plan comes with you.
Related topics
- Furniture libraryFind furniture and fixtures in the library, place them at real size, then move, rotate, resize, lift or swap them.
- StairsPlace a stair, shape it in the Stair configurator, give it finishes and connect it from one floor to another, up or down.
- Sunken and raised floorsSet a floor area higher or lower than the rest of the level, then add steps that fit the height difference.
- WallsDraw straight walls corner to corner, type exact lengths, and set thickness, height and corner join.
- RoomsDraw a whole room in one drag: rectangle, L-shape, round or any shape, at an exact size.
- 3D view & walkthroughSee the same plan in live 3D, light it, look inside, save views, walk through it and turn a view into a realistic photo.
Try it on a real plan
Free, in your browser. No sign-up needed to start.