Drawing
How to name rooms, add notes and measure areas
Labels and notes make a plan easy to read. Name each room, add a note for a build detail, and outline any area you want the size of.
All of them show on exports. Room names and area figures can be hidden from the Layers panel.
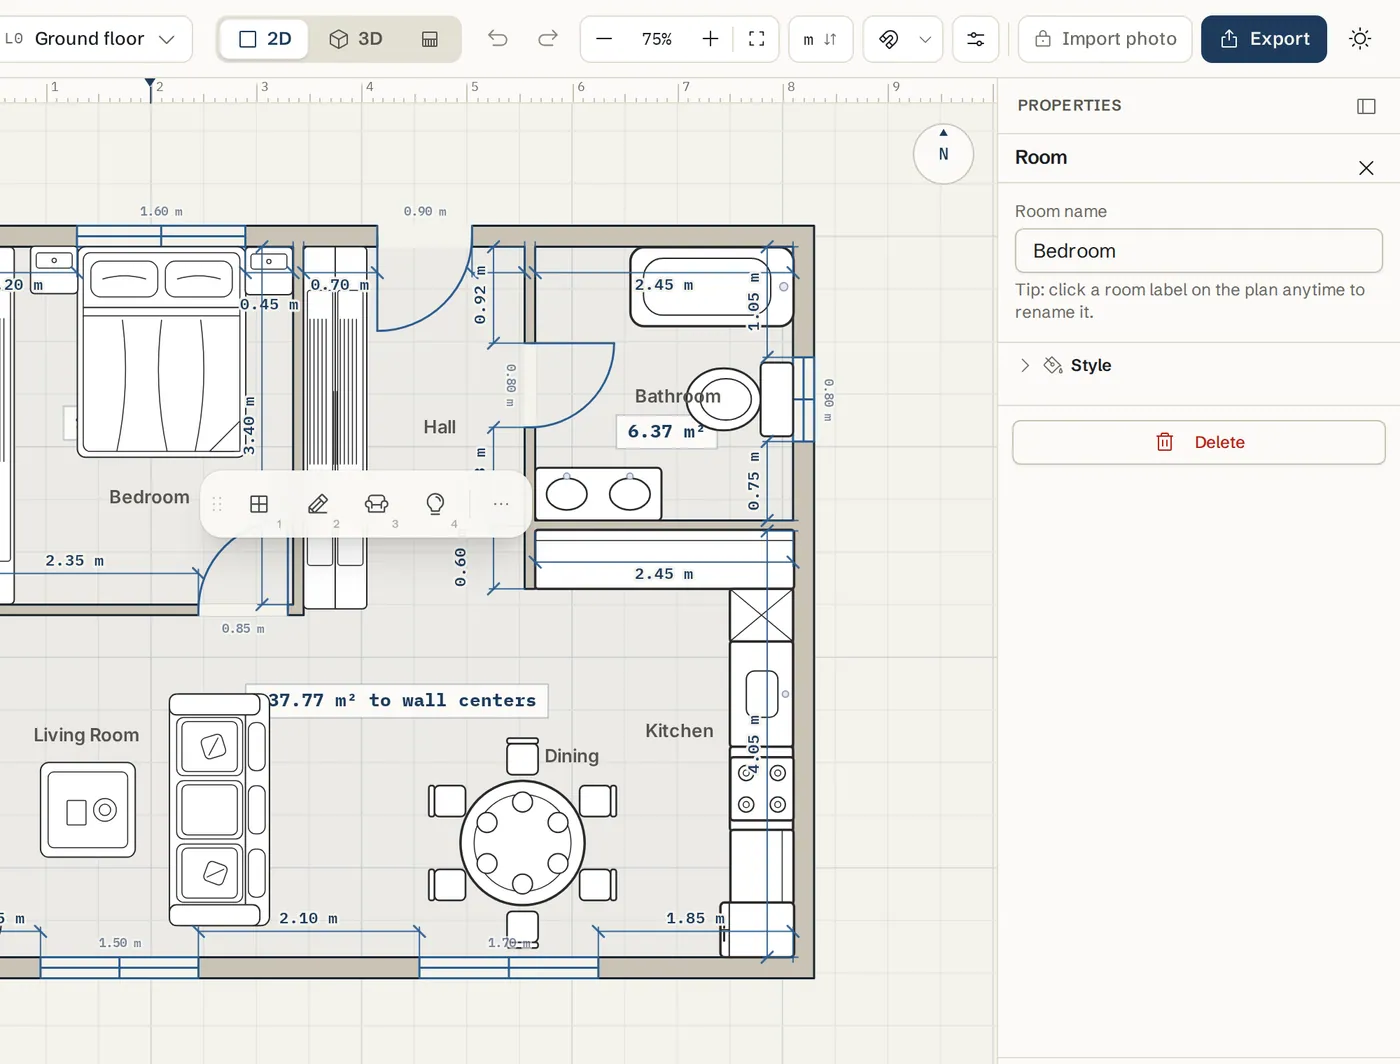
Name a room
Turn on Room label
Click Room label in the left toolbar under Measure & label.
Click inside the room
Click where the name should go. A label called Room appears and is selected.
Type the name
In the panel on the right, type in Room name, for example Master Bedroom. Later, click the label on the plan any time to rename it.
Style a room label
Select the label
With Select (V), click the room name on the plan.
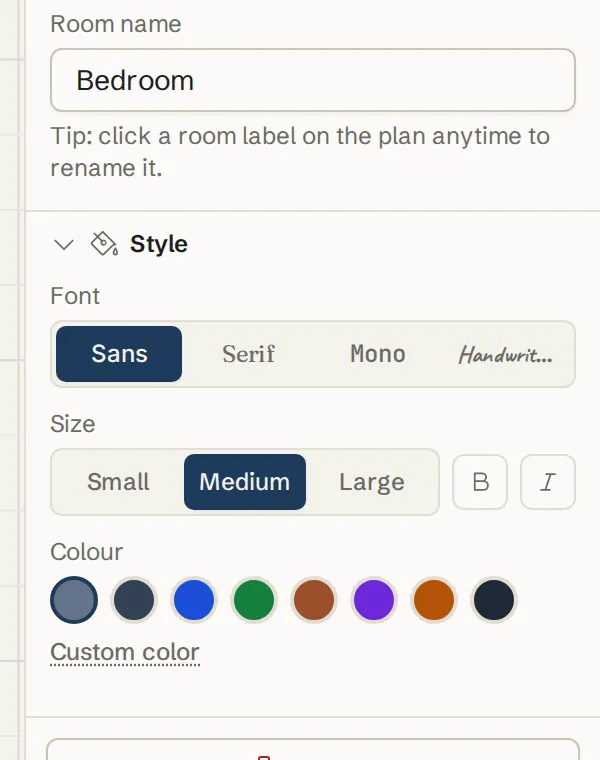
Pick font and size
Choose a Font: Sans, Serif, Mono or Handwritten. Choose a Size: Small, Medium or Large. Turn on Bold or Italic.
Pick a colour
Under Colour, click a swatch such as Blue or Terracotta, or open Custom color for any colour.
Add a note or callout
Turn on Note / callout
Press T, or click Note / callout in the left toolbar.
Place a note
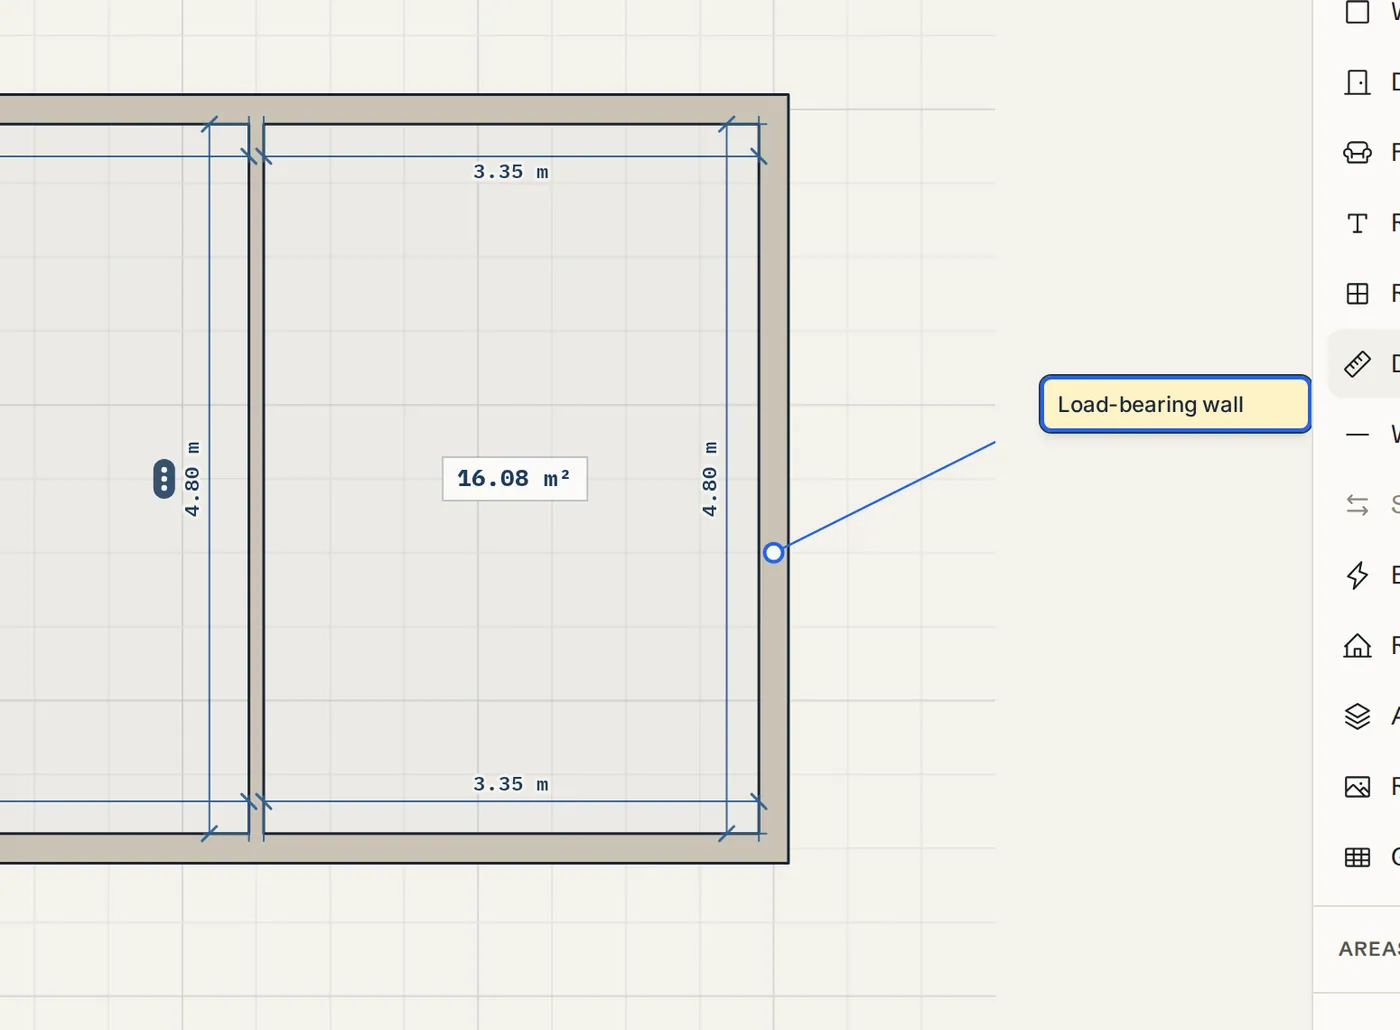
Click on the plan for a plain note. To point at something, press on it and drag away: the note lands where you let go, with a leader line back to the spot.
Type, edit or delete
Type the text straight away. Double-click a note later to edit it. Select it and press Delete to remove it.
Show room areas and measure any area
Read room areas
Every room closed by walls shows its area in the middle, in m² or ft². Hide them with Room Areas in the Layers panel.
Outline an area
Press A, or click Room area in the left toolbar. Click the corners of any area, like a patio or part of a room. Click the first point, or double-click, to close it. The area shows inside.
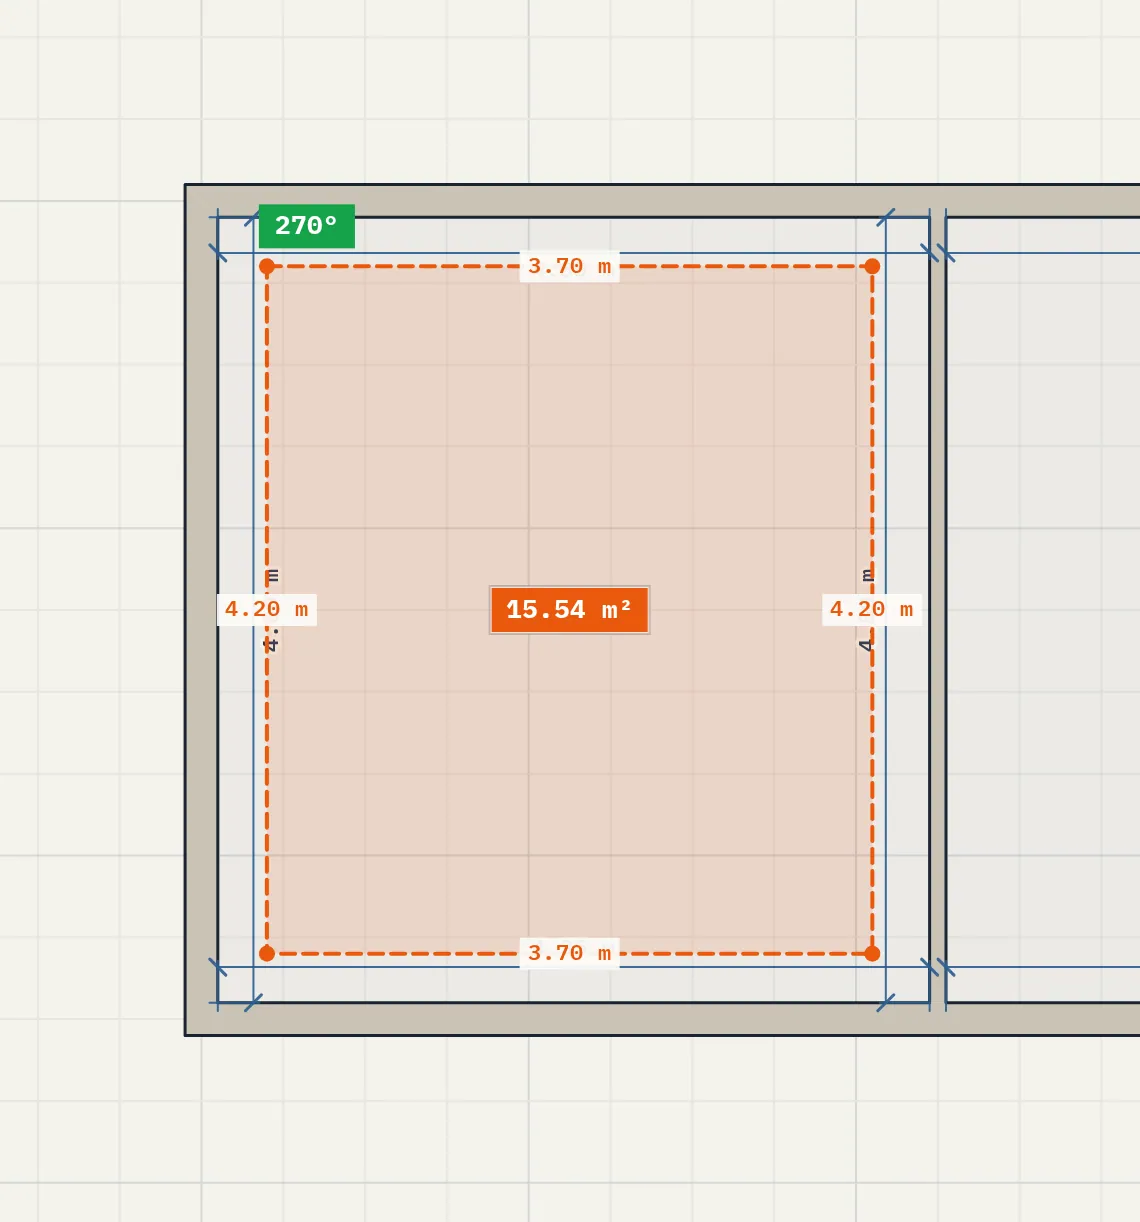
Change or remove it
Select the area to pick a highlight colour. Press Delete to remove it. Esc clears the one you are drawing.
Tips
- A room label and a room are separate: the name is a label you place, the room and its area come from the walls.
- Select every room label at once from the Layers panel (Room Labels) or right-click a label and choose Select all room labels.
- Named rooms appear by name in the Area schedule. Unnamed rooms are listed as Room 1, Room 2 and so on.
Common problems
- The area figure sits on top of my room name
- The area chip steps below the name automatically. If it still overlaps, drag the name label a little higher.
- My outlined area is not added to the room total
- Areas you outline by hand are listed in the Area schedule but not added to the rooms subtotal, so nothing is counted twice.
- The area says "to wall centers"
- The plan uses the Centre corner join. Switch Corner join to Inside or Outside in Settings under Advanced to measure inside the wall faces.
Related topics
- RoomsDraw a whole room in one drag: rectangle, L-shape, round or any shape, at an exact size.
- Dimensions & measuringWall lengths on the plan, which face they measure, typing a length, and extra dimension lines.
- Areas & area scheduleNet room areas, gross floor area per floor and building totals, on the plan, in the Areas panel and in exports.
- LayersHide or show furniture, dimensions, areas, wiring, the roof, reference images and the grid.
- Export & print (PDF)Download plans and elevations as PDF, PNG, SVG or a 3D model, true to scale on A4 to A0 paper, or save the whole plan as a SpacePlanner plan file.
Try it on a real plan
Free, in your browser. No sign-up needed to start.