Drawing
How to add furniture to your floor plan
The furniture library holds furniture, fixtures, appliances, plants and people, each at a standard real-world size. You place a piece on the plan, and it shows as a clean symbol in 2D and as a model in 3D.
Use it once your walls and rooms are drawn, to check that a bed fits, a kitchen works or a hallway stays clear.
Open the library and find a piece
Open the furniture library
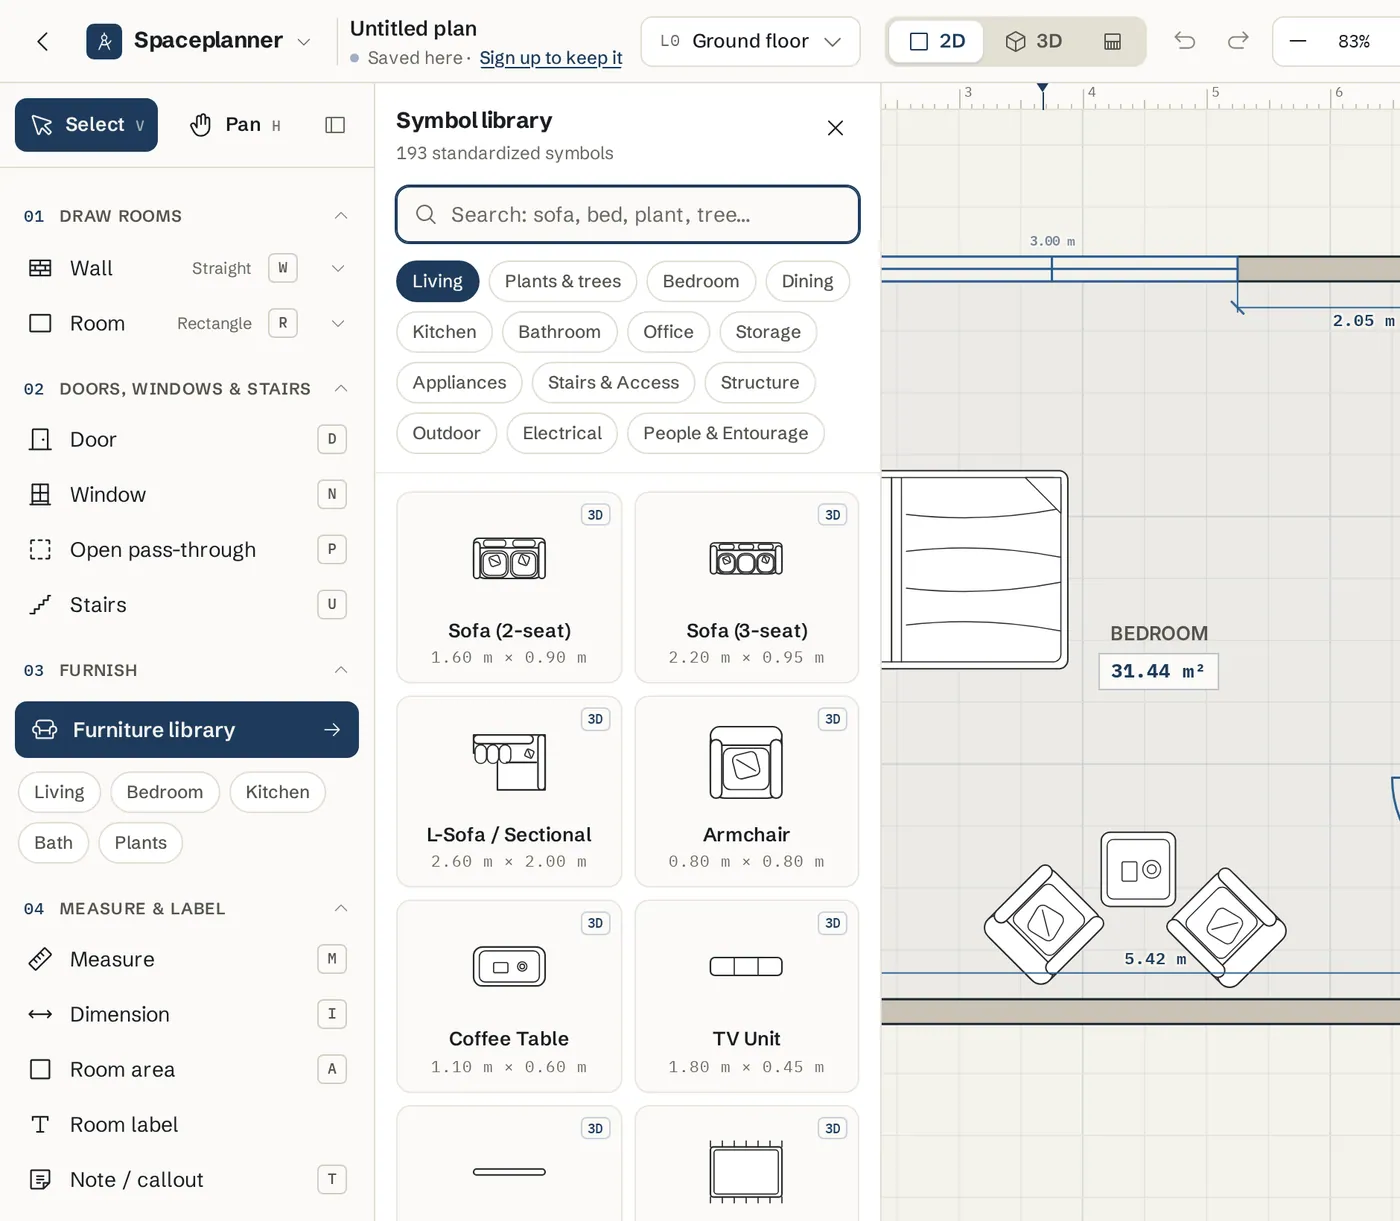
Press B from any tool, or click Furniture library in the left toolbar under Furnish. The library opens beside the plan. Press B again to close it.
Jump to a room type
Under Furniture library in the left toolbar, click a quick chip: Living, Bedroom, Kitchen, Bath or Plants. The library opens already filtered to that category.
Pick a category or search
Inside the library, click a category chip such as Living, Dining, Office, Storage, Appliances, Outdoor, Plants & trees or People & Entourage. Or type in the search box, for example "sofa", "queen bed", "dishwasher" or "tree". Whole-word matches come first.
Preview it in 3D (optional)
Many pieces have a real 3D model. Click the 3D badge on a card (Preview in 3D) to turn the model around before you place it.
Place and arrange furniture
Click the piece, then click the plan
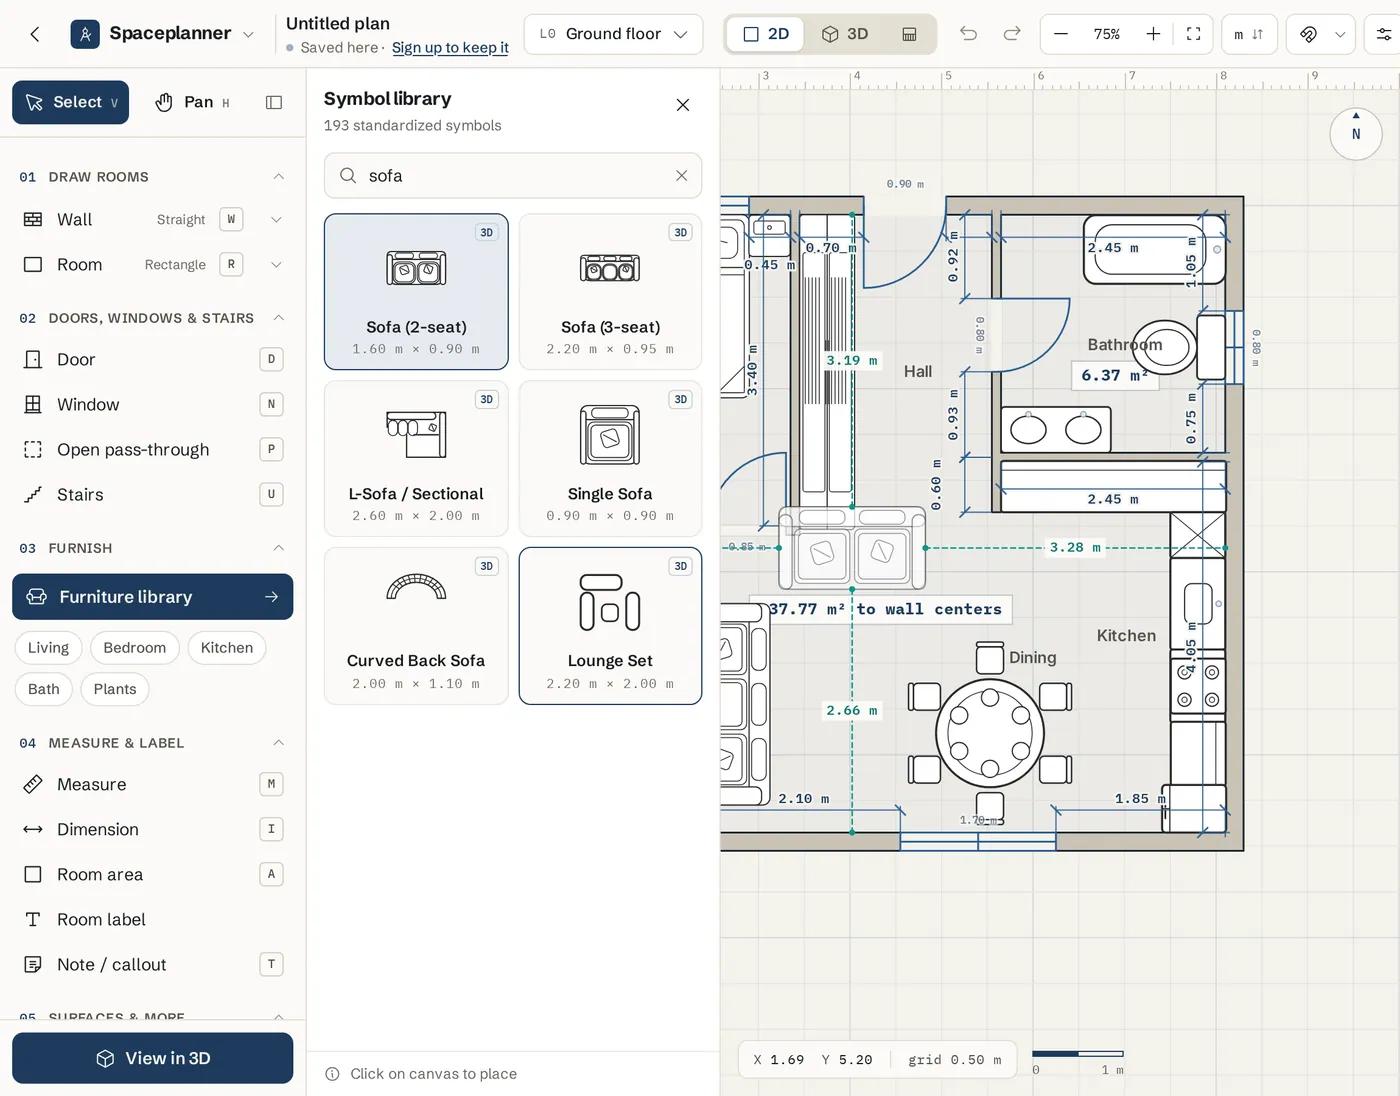
Click a card in the library to pick it. The footer says Click on canvas to place. Click inside the room where it should go. The piece lands at its real size, and the editor switches back to Select with the new piece selected.
Drag it into place
Press V for Select, then drag the piece. Drag it close to a wall and it clicks flush against that wall, so a bed or a wardrobe sits tight to the wall face.
Nudge it exactly
With the piece selected, the arrow keys move it 1 cm, and Shift+arrow keys move it 10 cm.
Rotate it
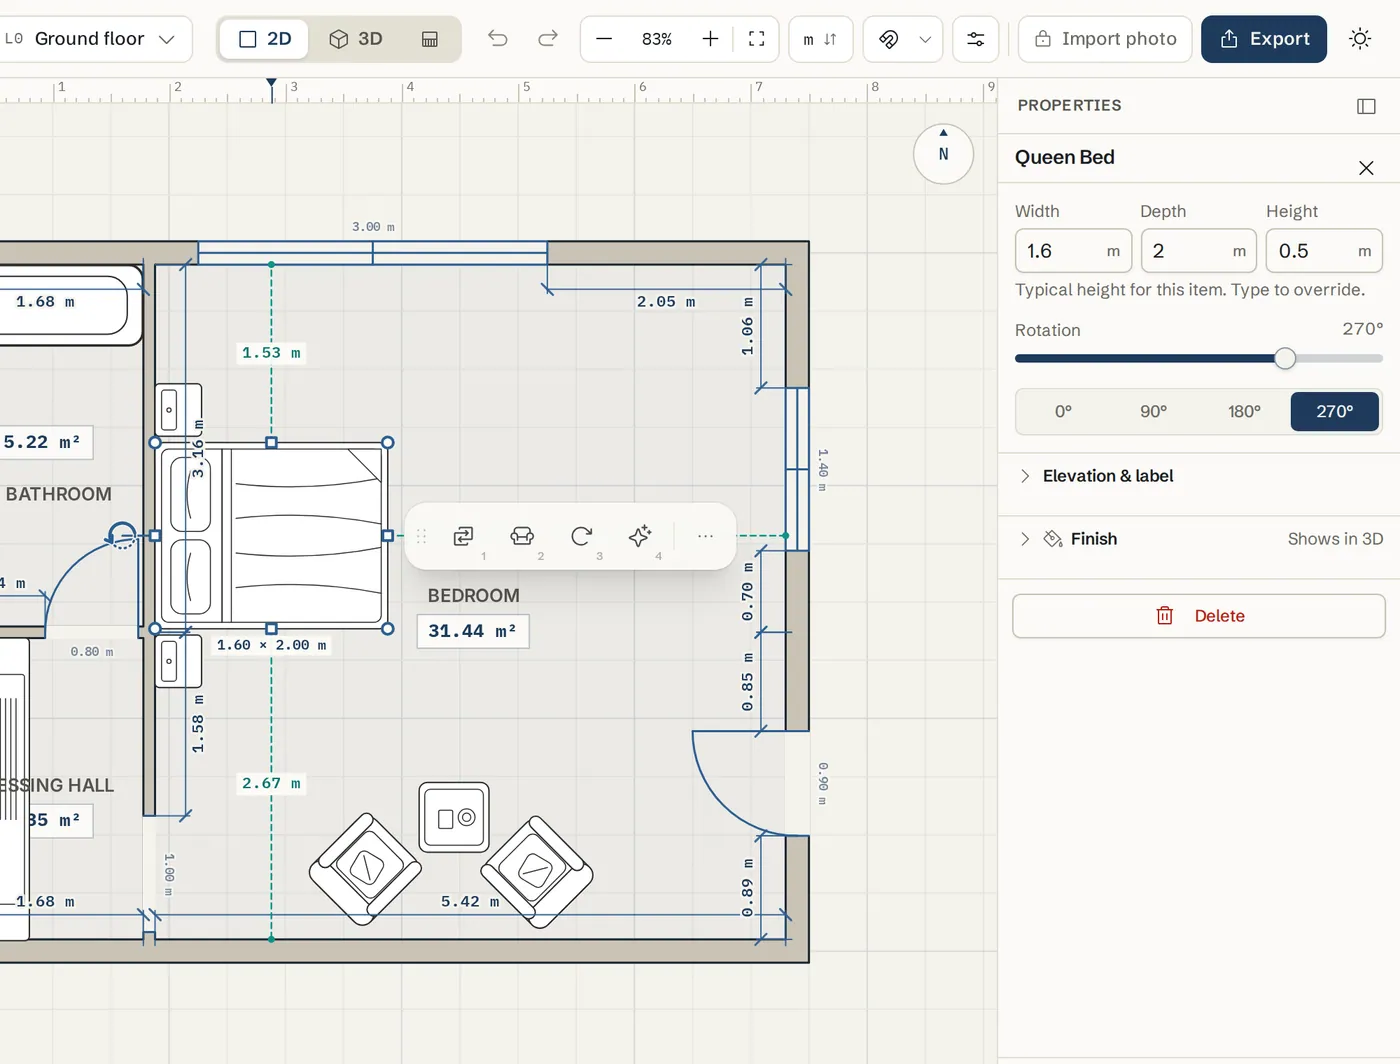
Click Rotate 90° in the quick actions that appear beside the selected piece, or right-click it and choose Rotate 90°. For any angle, use the Rotation slider in the right panel (15° steps) or the rotation presets below it.
Resize it
Drag the selection handles on the plan, or type exact sizes in the right panel: Width, Depth and Height. The hint under the fields says whether the height is typical for that item or an estimate. Clear the box to go back to the default height.
Lift it onto a counter or shelf
Open Elevation & label in the right panel and set Elevation off floor. A microwave on a 90 cm counter gets 90 cm. 0 means it stands on the floor. You can also give the piece a Custom label here.
Swap it for something else
Click Replace in the quick actions to pick a different piece in the same spot, or Similar furniture to see pieces like it. The new piece keeps the position.
Copy, lock or delete
Ctrl+D (Cmd+D on a Mac) duplicates the selection. Right-click and choose Lock position so the piece cannot be moved by accident; Unlock position frees it again. Delete or Backspace removes it.
Change a piece’s colour or material
Open its Finish section
Select the piece and open Finish in the right panel, or switch to 3D and click the piece. Pick a colour or material for the whole piece, or open Parts to give each part its own finish, like wooden legs and a fabric seat.
Remove the white background on the plan
Furniture draws with a solid white body by default, which hides a wood or tile floor finish under it. Open Settings in the top bar and, under View, set Furniture fill to Transparent (outline only, the floor shows through) or Tinted (a light veil). Solid is the default. It is saved with the plan and printed the same way in PNG, PDF and SVG exports, including black & white. To change one piece only, open Elevation & label in its right panel and pick its Plan fill.
See the result in 3D
The plan draws furniture as line work, so colours and textures show in the 3D view. Reset all parts to default finish brings back the original look.
Tips
- Stairs, columns, electrical symbols, pools and plants are in the same library, so search finds them too.
- Bathroom fixtures and fridges carry a real height, so the 3D view and the wall elevation show them at the right size.
- Several pieces can move together: box-select them, then press Ctrl+G (Cmd+G) to group them. Ctrl+Shift+G ungroups.
- Hide all furniture while you work on walls by switching off Furniture & Symbols in Layers on the right.
Common problems
- Pressing R did not rotate my furniture
- R arms the Room tool (rectangle), not rotation. To rotate, select the piece and use Rotate 90° in its quick actions or right-click menu, or the Rotation slider in the right panel.
- The piece is the wrong size for my real sofa
- Every piece starts at a standard size. Select it and type your real Width, Depth and Height in the right panel. The drag handles on the plan also resize it.
- I cannot move a piece
- It may be locked. Right-click it and choose Unlock position. If it is part of a group, the whole group moves together; press Ctrl+Shift+G to ungroup it first.
- Furniture jumps against the wall when I drag it
- Pieces snap flush to a wall when you drag them close to it. Drag it further from the wall to place it free in the room.
- Furniture shows as white blocks over my floor finish
- That is the default Solid fill. Open Settings, and under View set Furniture fill to Transparent or Tinted. You can also press Ctrl+K and search "furniture fill". A transparent piece is still selected by clicking anywhere inside its outline.
- The colour I picked does not show on the plan
- Furniture colours and textures show in the 3D view. The 2D plan keeps furniture as clean line drawings so it stays readable when printed.
Related topics
- RoomsDraw a whole room in one drag: rectangle, L-shape, round or any shape, at an exact size.
- Finishes and materialsOne finish picker for floors, walls, stairs and furniture: pick a material or paint, then adjust scale, grain and tint.
- Selecting and editingPick one item or many, then move, copy, group, align, lock or delete them together.
- 3D view & walkthroughSee the same plan in live 3D, light it, look inside, save views, walk through it and turn a view into a realistic photo.
- Electrical plansPlace switches, outlets, lights and alarms, connect them with wires, and print an electrical plan with a legend.
- Lot, garden and outdoorDraw the property boundary and ground surface, then add patios, plants, trees, a pool and outdoor furniture.
Planning a whole project?
Try it on a real plan
Free, in your browser. No sign-up needed to start.